In this article, we will cover the installation of the Plesk panel — one of the largest and most stable hosting control panels — on an Almalinux system. If you apply the steps in the exact order shown in the article, you can complete the installation without problems. All you need for Plesk panel installation is a virtual server. Without further ado, let’s examine the installation steps together.
Update and Install Packages
Before starting the installation, we check whether your server has up-to-date packages. For this, enter the following command into the SSH client or terminal:
After executing the command, it will check for updates and start applying them automatically. Depending on your server’s state, this operation may take 5–15 minutes. It is important not to interrupt the update process.
Following the updates, it's important that wget is also working on your server, because we will download our main installer file using wget. Therefore, enter:
This command will install the wget package if it is not already installed. If it is already installed, you may see output like:
Nothing to do.
Complete!
To ensure that all updates are fully applied and, if a kernel update took place, to relaunch the server with the new kernel version, we must reboot the server:
After this command, your server will restart, and you can re-establish your SSH connection.
Disable System Firewall
In some special cases, if you don’t disable firewall systems, you may face access problems with web services. To avoid encountering any issues, we disable the system firewall configuration:
systemctl stop firewalld && systemctl disable firewalld
You will see a screen like the following.

Plesk Panel Installation
Now that all our preparations are complete, we can begin the installation itself. With the command below, we download our installation assistant to the server, grant permissions, and run it:
wget https://autoinstall.plesk.com/plesk-installer && chmod +x plesk-installer && ./plesk-installer
After a brief download, the installation script will prompt you, and from that point onward the process is quite straightforward: you generally select “Next / Continue” following the prompts.
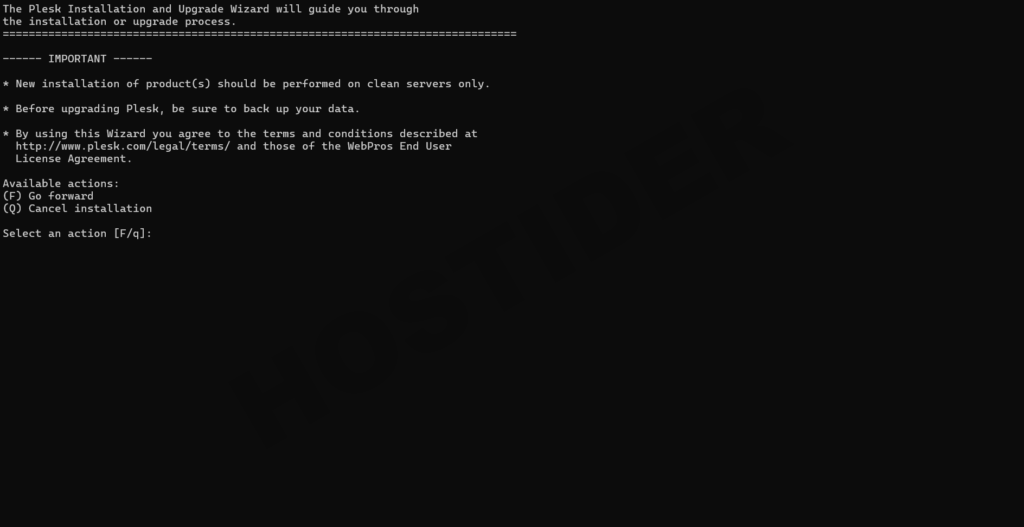
On the screen above, the installer asks whether you accept the agreement. You press F to accept and proceed to the next step.
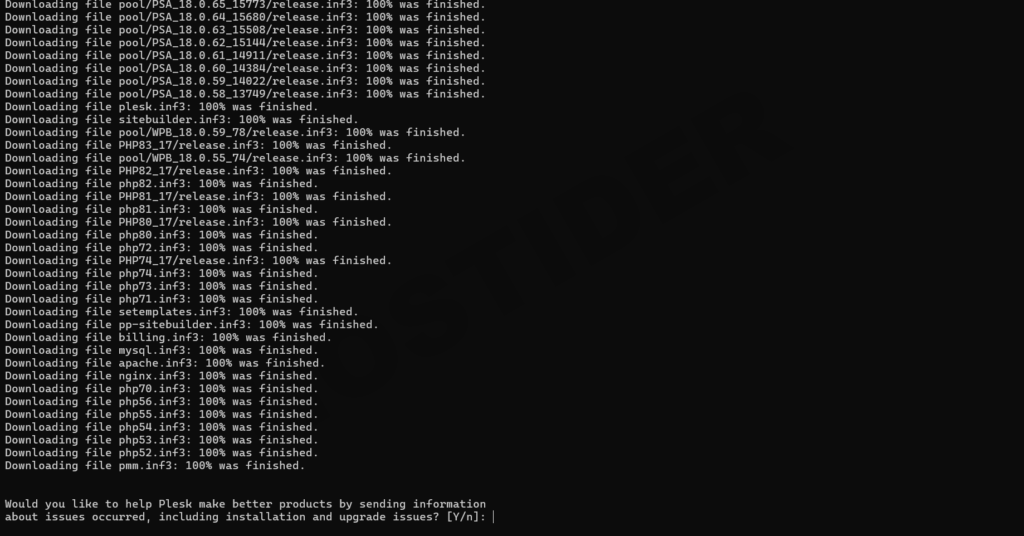
In that step, the installer scans for required files and packages, and asks for your confirmation. We press Y to proceed.
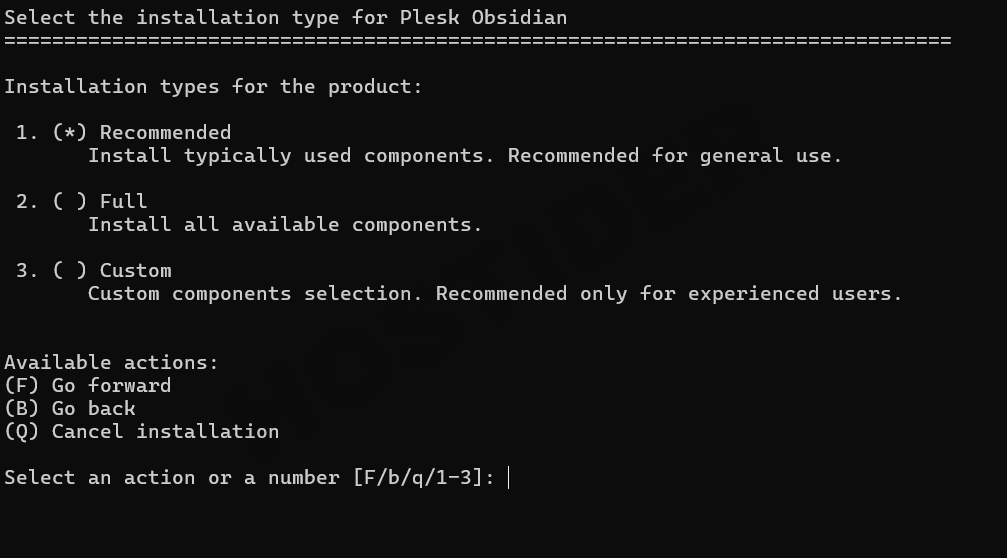
Now some packages are downloaded. The installer then asks how you want to install Plesk. A “General” configuration is sufficient. The Full package may include modules you don't need. Since “Recommended” is preselected, simply press F to continue.
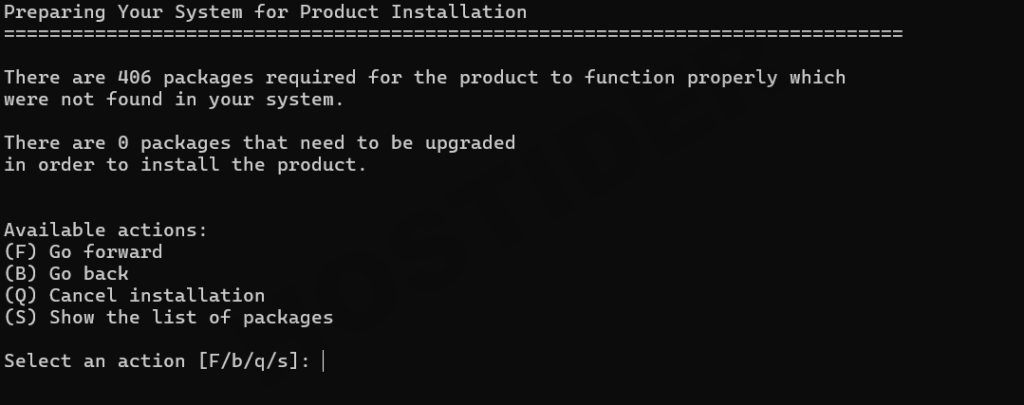
Next, the installer indicates there are 406 packages missing on your system and that it wants to install them. Here, too, press F to proceed.
After these steps, the script begins installing the Plesk panel. From now on, you don’t need to perform any additional steps until the installation is complete. When installation finishes, you will see a screen like this:
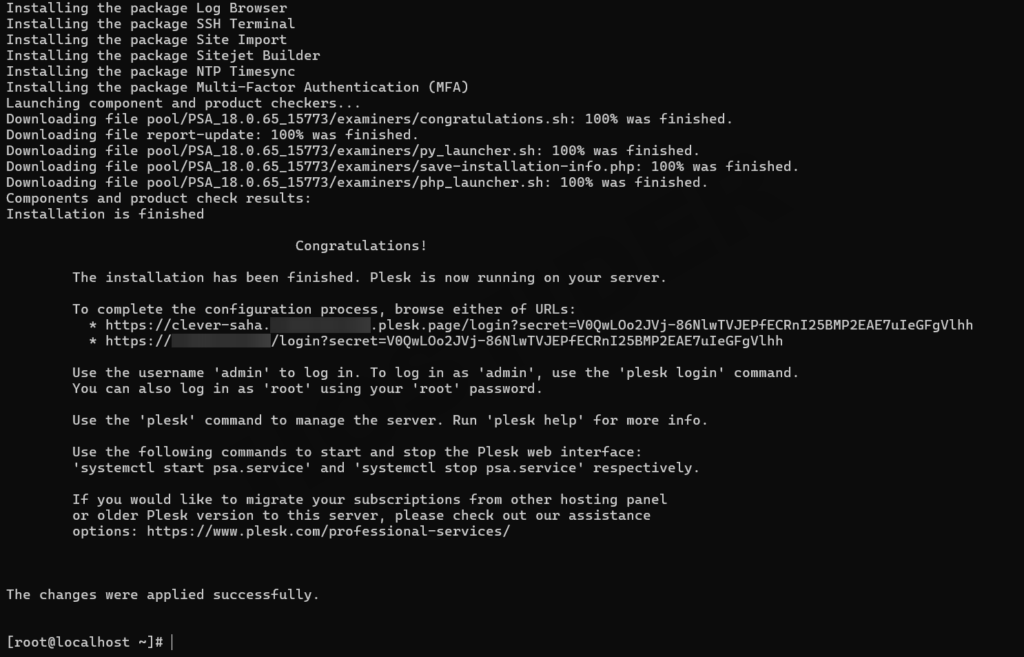
SSH-level operations are completed. From now on, our work continues on the web interface. There are a few ways to directly access the Plesk panel. You can copy one of the two URLs listed under “To complete the configuration process, browse either of URLs:” into your browser. Without a password prompt, it will take you directly to the configuration screen.
Alternatively, you can connect via the 8880 port in the browser:
http://ipadress:8880
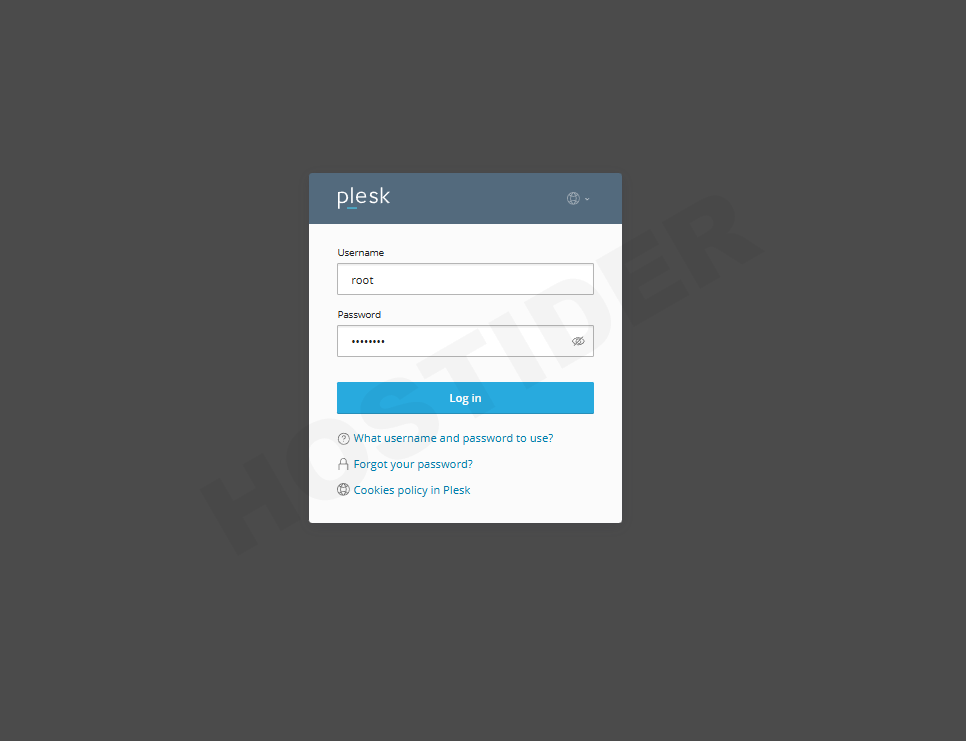
To log in, use the same root user name and password that you use on the server..
After logging in, it will ask you to fill in certain fields. The required fields are marked with an asterisk (*).

To explain the relevant fields:
-
Your Contact Name: The name that will appear in your Plesk panel
-
Email: The email address used for Plesk, and where necessary notifications will be sent
-
Password: The password for the admin user
-
Reset admin’s password on the next login: Option to force a password change at the next login
-
Proceed with a paid license: If you already have a Plesk license, you can select this and enter the license key
-
Proceed with a full-featured trial license: To use a trial license with full features (some limitations)
-
I confirm that I’ve read and accepted the End-User License Agreement: Mandatory option to indicate acceptance of license agreement
We completed the configuration screens as shown above, and requested a trial license. Once all operations are done, press the blue Enter Plesk >> button to proceed.
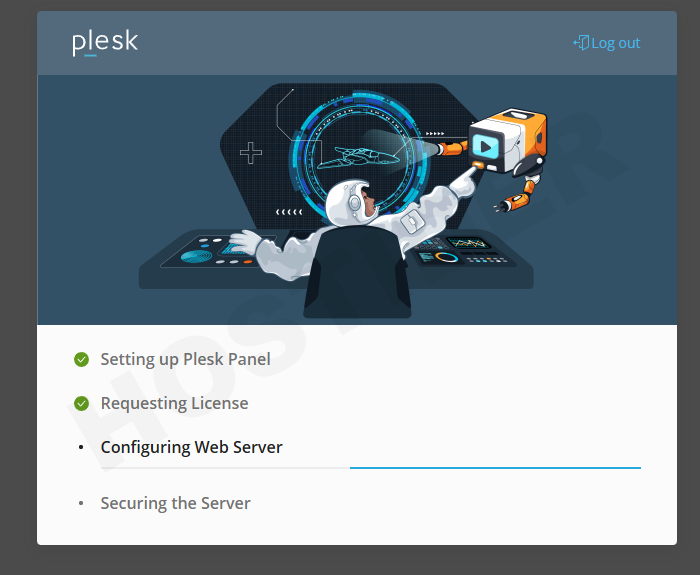
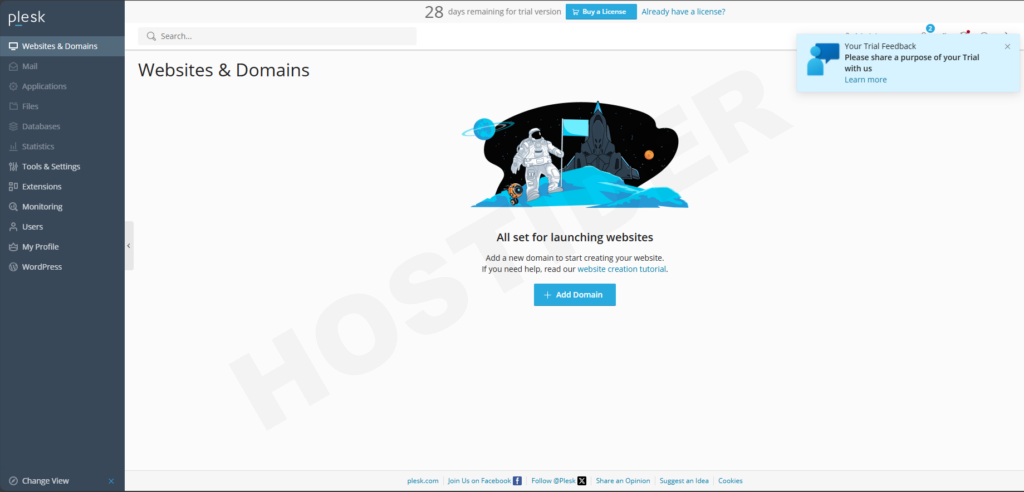
After a very brief wait, the system will complete necessary final configurations automatically and direct you to your main panel. Once everything is done, the screen you’ll see looks like this:
In this article, we shared general information about Plesk panel installation. If you apply the steps in the article without omission, you can perform a smooth installation.